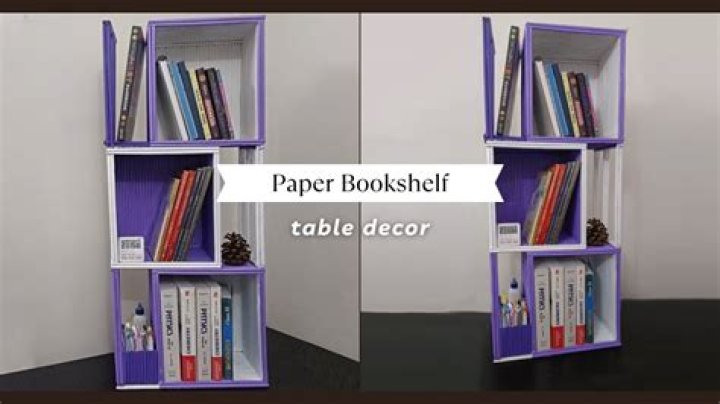
Newspaper Into Book Shelf
- Step 1: Making Tubes Out of Newspaper.
- Step 2: Cutting Tubes to Desirable Shelf Length.
- Step 3: Gluing Tubes Together.
- Step 4: Tracing the Base.
- Step 5: Forming the Supporting Sides of Shelf.
- Step 6: Gluing Shelf Base/ Length.
- Step 7: Completing the Base and the Shelf.
How do you decorate a shelf with paper?
Tape two sheets of relatively thin paper (you can even use gift wrap or tissue paper) so that they cover the front of the shelf. Use a pencil to rub along the inside edge of the shelf, so that you’re making a tracing you can use as a template. Cut out the template along the outside lines and place inside your shelf.
What tools do I need to build a Bookcase?
As for basic tools, you’ll need a portable circular saw, hammer, block plane, combination square, tape measure, metal rule, two clamps, nail set and putty knife. Other supplies include glue, nails, sandpaper, wood filler and varnish or paint and shellac.
How do you wrap a bookcase?
Wrap the entire bookcase in furniture blankets (pay special attention to the corners and edges) to prevent scratching, denting, chipping, and other damage during the move. Use plastic wrap or packing tape to keep the protective covers in place.
What’s the difference between contact paper and wallpaper?
Contact paper is not wallpaper. You will not be matching seams. It has adhesive on the back, which may mean that there may be bubbles after you apply the paper.
What can I do with clear contact paper?
13 Unexpected Ways to Use Contact Paper Around the House
- Frost Your Windows. 1/14.
- Make Labels. 2/14.
- Do the Drawer Thing. 3/14.
- Reboot Your Laptop. 4/14.
- Make Your Stairs Something to Stare At. 5/14.
- Transform Furniture. 6/14.
- Dress Up Your Books. 7/14.
- Get New Countertops. 8/14.
How to Attach top of bookcase?
Set the top of the bookcase onto the supports and the hanging strip. Drill countersunk pilot holes along the edges of the bookcase top — two into each support and one every 8 to 10 inches along the hanging strip. Glue and screw the top in place, above.
What kind of wood should I use for shelves?
If you are making shelves where the color and grain of the wood is an important part of the design, look for oak, maple, or cherry plywood—these options will still offer durability, but will help keep costs down compared to with non-manufactured hardwoods of the same species.
How do you move a bookshelf by yourself?
For smaller bookshelves that you want to move yourself, lift them off the ground by using your legs and arms. Don’t put weight on your back as it is dangerous. Wrap the bookshelves in moving blankets for protection. Before moving your bookshelf, remove all the items on it and dust them off.
How do you move a bookshelf with a glass door?
Use stretch wrap and masking tape to keep doors securely closed and protect the glass. Drape a padded moving blanket over the item and secure it with shrink wrap. Use specialty boxes for packing stemware, china, and chandeliers. Place masking tape in a starburst pattern over mirrors or large pieces of glass.
What’s the best way to paint a bookcase?
Wipe the bookcase down to remove any dust before you start painting. You’ll need to use masking tape where you’re cutting in with a paint brush to ensure the lines are straight. Then use a roller to paint the larger areas. Apply as many coats as needed.
How to build a chair using newspaper and masking tape?
Challenge: Using newspaper, masking tape, and scissors, build a chair to hold one member of your team at least 2 inches above the ground for 5 seconds. No body part may touch the ground during this time.
How do you build a bookcase at Bunnings?
To make this project easier, you can have your timber cut to size at your local Bunnings. Take one of the long lengths of timber and measure out the positions for the shelves. This bookcase will include a fixed shelf in the centre and four other shelves. Measure and mark the halfway point, which is where the fixed shelf will go.
What kind of ply do you use to build a bookcase?
Two of the 565mm pieces of ply are for the top and bottom of the cupboard. Starting with the top piece, make sure it is flush with the end of the side panel and pre-drill holes using a 5mm bit. Then screw into place using 45mm screws. Attach the other side length panel to the top piece the same way.
