Delta Plus Kitchen Faucet Leaking: Troubleshooting and Solutions
Discovering a Delta Plus kitchen faucet leaking can be a frustrating experience for any homeowner. Not only does it waste water, potentially increasing your utility bills, but it can also lead to water damage if left unattended. This article provides a comprehensive guide to understanding the common causes of a Delta Plus kitchen faucet leaking and offers practical solutions to fix the issue. We’ll walk you through the troubleshooting process, from identifying the source of the leak to implementing effective repair strategies. This guide is designed to help you resolve the problem efficiently, saving you time and money.
Understanding the Common Causes of a Leaking Delta Plus Kitchen Faucet
Several factors can contribute to a Delta Plus kitchen faucet leaking. Identifying the root cause is the first step toward a successful repair. Here are some of the most common culprits:
- Worn-out O-rings and Washers: These small rubber components are crucial for creating a watertight seal within the faucet. Over time, they can degrade, crack, or become brittle, leading to leaks.
- Loose Connections: The connections between the faucet body, spout, and water supply lines can loosen over time due to vibrations or regular use.
- Corroded Valve Seats: Valve seats are the part of the faucet that the valves press against to shut off the water flow. Corrosion can prevent a tight seal, resulting in a leak.
- Damaged Cartridge: Cartridge faucets use a single handle to control both temperature and water flow. A damaged cartridge can cause the faucet to drip or leak.
- High Water Pressure: Excessive water pressure can put strain on the faucet’s components, accelerating wear and tear and increasing the likelihood of leaks.
- Mineral Buildup: Hard water can lead to mineral deposits accumulating inside the faucet, interfering with its operation and causing leaks.
Tools and Materials You’ll Need
Before you begin troubleshooting your Delta Plus kitchen faucet leaking, gather the necessary tools and materials. Having everything on hand will make the repair process smoother and more efficient:
- Adjustable wrench
- Screwdrivers (Phillips and flathead)
- Pliers
- Allen wrench set
- Penetrating oil
- Replacement O-rings and washers (specific to your Delta Plus faucet model)
- Replacement cartridge (if necessary)
- Plumber’s grease
- Clean cloths or towels
- Bucket
Step-by-Step Guide to Troubleshooting and Fixing a Delta Plus Kitchen Faucet Leak
Step 1: Turn Off the Water Supply
Before you start any repairs, it’s crucial to turn off the water supply to the faucet. Locate the shut-off valves under the sink and turn them clockwise until they are completely closed. If you can’t find individual shut-off valves, you may need to turn off the main water supply to your house.
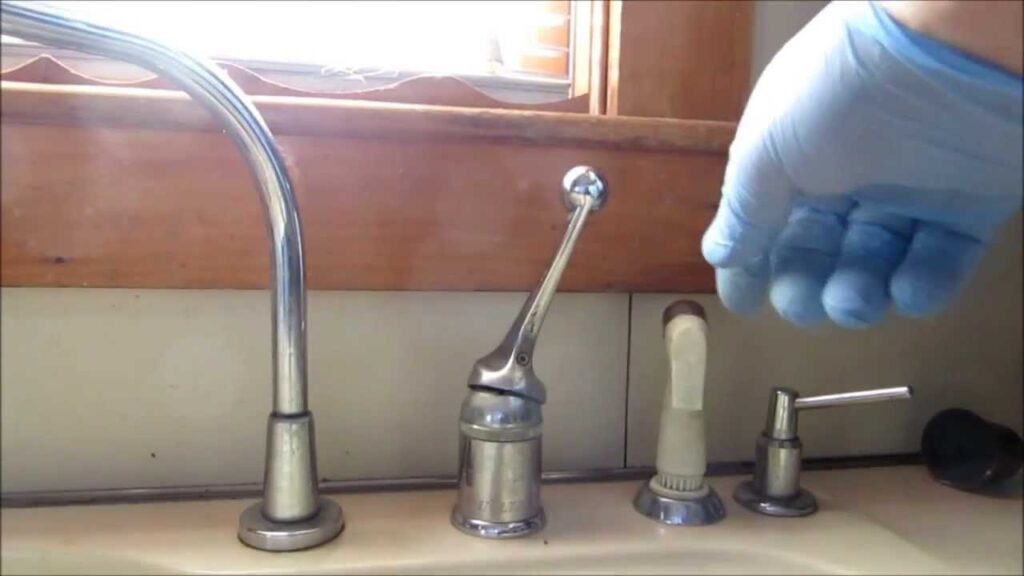
Step 2: Identify the Leak’s Location
Carefully inspect the faucet to pinpoint the exact location of the Delta Plus kitchen faucet leaking. Common areas include:
- Base of the spout: This often indicates a problem with the O-rings.
- Handle: A leak around the handle may be due to a worn-out cartridge or O-ring.
- Faucet body: Leaks from the faucet body can be caused by loose connections or corrosion.
- Spray hose: The spray hose connection can loosen or crack, leading to leaks.
Step 3: Disassemble the Faucet
Once you’ve identified the leak’s location, carefully disassemble the faucet. Consult your Delta Plus kitchen faucet‘s user manual or online resources for specific disassembly instructions. Generally, this involves:
- Removing the handle by loosening the set screw with an Allen wrench.
- Taking off any decorative caps or covers.
- Loosening the retaining nut that holds the spout in place.
- Removing the spout.
Step 4: Inspect and Replace Worn Parts
After disassembling the faucet, thoroughly inspect the O-rings, washers, and cartridge for signs of wear, damage, or corrosion. Replace any parts that appear to be in poor condition. Use plumber’s grease to lubricate the new O-rings and washers before installing them.
Step 5: Check and Tighten Connections
Examine all the connections between the faucet body, spout, and water supply lines. Tighten any loose connections with an adjustable wrench. Be careful not to overtighten, as this can damage the fittings.
Step 6: Clean Mineral Deposits
If you notice mineral buildup inside the faucet, clean it with a solution of equal parts white vinegar and water. Soak the affected parts in the solution for several hours, then scrub them with a soft brush to remove the deposits.
Step 7: Reassemble the Faucet
Once you’ve replaced the worn parts, tightened the connections, and cleaned any mineral deposits, reassemble the faucet in the reverse order of disassembly. Ensure that all parts are properly aligned and securely fastened.
Step 8: Turn on the Water Supply and Test for Leaks
After reassembling the faucet, slowly turn on the water supply and check for any leaks. If you still notice a Delta Plus kitchen faucet leaking, double-check the connections and ensure that all the parts are properly installed. You may need to repeat the troubleshooting process or consult a professional plumber.
Preventive Measures to Avoid Future Leaks
To minimize the risk of future leaks in your Delta Plus kitchen faucet, consider the following preventive measures:
- Regular Maintenance: Periodically inspect your faucet for any signs of wear or damage and address them promptly.
- Proper Water Pressure: Ensure that your home’s water pressure is within the recommended range (typically 40-60 psi). A pressure regulator can help control excessive water pressure.
- Water Softener: If you have hard water, consider installing a water softener to reduce mineral buildup in your plumbing fixtures.
- Gentle Handling: Avoid applying excessive force when operating the faucet handles or spout.
When to Call a Professional Plumber
While many Delta Plus kitchen faucet leaking issues can be resolved with DIY repairs, there are certain situations where it’s best to call a professional plumber:
- You’re uncomfortable performing the repairs yourself.
- You’ve tried troubleshooting the problem, but the leak persists.
- The leak is coming from inside the wall or other inaccessible areas.
- You suspect there may be underlying plumbing issues, such as damaged pipes.
A qualified plumber has the expertise and tools to diagnose and repair complex plumbing problems safely and effectively. Attempting to fix a problem beyond your skill level can lead to further damage and potentially costly repairs. Finding a Delta Plus kitchen faucet leaking can be worrisome, but with the right approach, you can find a fix.
Choosing the Right Replacement Parts for Your Delta Plus Faucet
When replacing parts for your Delta Plus kitchen faucet, it’s crucial to use the correct components. Using generic or incompatible parts can lead to further leaks or damage to the faucet. Here are some tips for choosing the right replacement parts:
- Consult the Faucet’s User Manual: The user manual typically lists the specific part numbers for replacement components.
- Contact Delta Faucet Customer Service: Delta’s customer service representatives can help you identify the correct parts for your faucet model.
- Visit a Reputable Plumbing Supply Store: Plumbing supply stores often have knowledgeable staff who can assist you in finding the right parts.
- Online Retailers: Many online retailers sell replacement parts for Delta faucets. Be sure to verify the part’s compatibility with your faucet model before purchasing.
The Environmental Impact of Leaking Faucets
Beyond the financial implications, a Delta Plus kitchen faucet leaking also has an environmental impact. Leaking faucets waste a significant amount of water over time, contributing to water scarcity and putting a strain on water resources. Addressing leaks promptly not only saves you money but also helps conserve water and protect the environment. By taking proactive steps to repair and maintain your faucets, you can make a positive impact on the environment and contribute to a more sustainable future.
In conclusion, a Delta Plus kitchen faucet leaking is a common problem that can often be resolved with basic troubleshooting and repair techniques. By understanding the common causes of leaks, gathering the necessary tools and materials, and following the step-by-step guide outlined in this article, you can effectively fix the problem and prevent future leaks. Remember to prioritize safety by turning off the water supply before starting any repairs and to consult a professional plumber when necessary. Addressing leaks promptly not only saves you money but also helps conserve water and protect the environment. [See also: How to Replace a Kitchen Faucet Cartridge] [See also: Understanding Water Pressure and Its Impact on Plumbing] [See also: Choosing the Right Kitchen Faucet for Your Needs]
